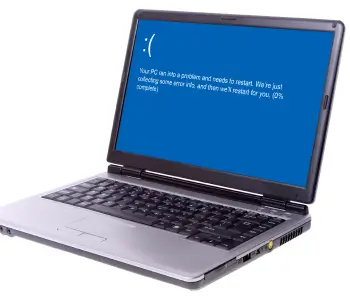
If your PC fails to boot up and shows a blue or black recovery screen, you may see a message like “A required device isn’t connected or can’t be accessed,” often with error codes 0xc000000f or 0xc000000e.
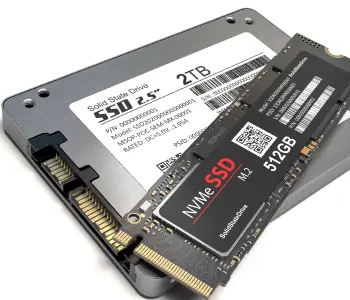
In simple terms, this means that Windows can’t find or access the files it needs to boot. These files are usually stored on your internal hard drive or SSD, and if that access is cut off for any reason, the system can’t continue.
The good news? This problem is often fixable. In many cases, it’s caused by something relatively minor, like misconfigured boot settings. However, there is a chance you’re dealing with a more serious issue, such as drive failure.
Before attempting any advanced fixes, it’s important to proceed carefully — especially if your data is irreplaceable.
What Causes This Error?
This error can be triggered by a range of issues, but most fall into a few common categories.
Boot configuration problems are one of the most frequent causes. If the Boot Configuration Data (BCD) is corrupted, missing, or pointing to the wrong locations, Windows won’t be able to start up. Similarly, an incorrect boot order can cause your system to look for startup files on the wrong device.
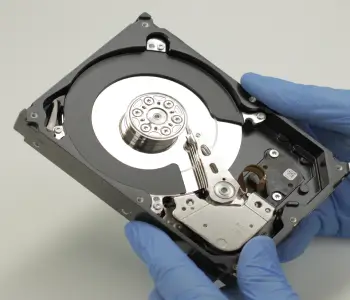
Drive and hardware issues are another possibility. A loose or faulty connection (such as a SATA or NVMe connector), failing hard drive or SSD, or unstable power supply can prevent your system from accessing the boot drive.
File system corruption can also cause this error. This tends to happen after improper shutdowns, sudden power loss, or disk errors that affect critical system files.
Finally, external interference can sometimes be the reason behind the error. USB drives or external storage devices can sometimes confuse your system into trying to boot from them rather than your internal system drive.
Some of these issues are easy to fix, while others may point to more serious hardware problems, in which case you’ll likely need professional assistance.
Start with Caution, Then Try These Quick Fixes
Before we jump into fixes, it’s important for you to understand that this error involves boot-critical data. This means that there’s an inherent risk with repair: some methods can overwrite system structures or make data recovery more difficult if things go wrong.
Avoid drastic measures like:
- Reinstalling Windows
- Formatting your drive
- Running command-line fixes that you don’t fully understand.
If your drive isn’t detected in BIOS, or you hear clicking or grinding noises, stop troubleshooting immediately. These are signs of possible hardware failure.
Remember: the first recovery attempt gives you the best chance of preserving your data.
Once you’re ready, start with a few low-risk checks:
- Restart your computer
- Disconnect all external devices (USB drives, external HDDs, SD cards)
- Enter BIOS/UEFI and check the boot order
- Make sure your main drive is set as the first boot device
External devices are a surprisingly common cause of this error, especially if the system tries to boot from the wrong source.
Step-by-Step Fixes (From Low to Higher Risk)
Now that you’ve ruled out simple issues, you can move on to some more structured fixes. We’ll start with the safest options first, and if these don’t work, proceed down the list to more advanced options. As the fixes progress, the level of risk increases — so take your time and stop if anything feels off.
Fix 1: Check and Correct Boot Order
Your system may be trying to boot from the wrong device. We already mentioned this step in the previous section, but we’ll walk you through the steps more comprehensively below:
- Restart your PC
- Enter BIOS/UEFI: Generally, you’ll need to repeatedly press F2, DEL, or F10 on boot to do this.
- Locate Boot Settings or Boot Priority
- Set your main operating system drive as the first boot device
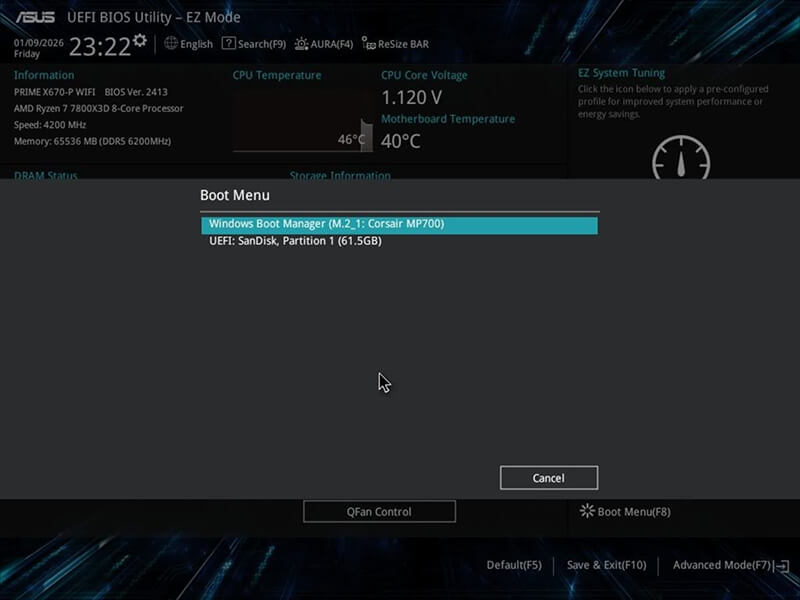
- Save your changes and restart
If you’re still receiving the error when you boot up your computer, move on to the next fix.
Fix 2: Run Windows Startup Repair
Windows Startup Repair automatically detects and fixes common boot issues. To run it, follow the steps below:
- Boot into Windows Recovery Environment (WinRE):
- Start your device and wait for the Windows logo (or the manufacturer's logo) to appear
- As soon as the Windows logo appears, press and hold the power button until the device shuts down
- Turn your device on again and repeat step (b).
- Turn your device on a third time. Windows should display the Automatic Repair screen
- Select Advanced options

- Select: Troubleshoot → Advanced Options → Startup Repair
- Let the repair process complete
- Restart your PC.
If this solved your issue, great — you’re done. If not, let’s move on to the next fix.
Fix 3: Rebuild Boot Configuration Data (BCD)
Your Boot Configuration Data (BCD) may be missing or corrupted. If this is the case for your system, follow the steps below to rebuild it. Proceed with caution, however: incorrect commands can sometimes cause further issues.
- Follow the steps from Fix 2 to boot into Windows Recovery Environment (WinRE)

- Select: Troubleshoot → Advanced Options → Command Prompt
- Run the following commands one at a time:
- bootrec /fixmbr
- bootrec /fixboot
- bootrec /scanos
- bootrec /rebuildbcd
- Restart your PC.
If this hasn’t fixed your issue, proceed to the final DIY fix.
Fix 4: Check Disk for Errors (CHKDSK)
CHKDSK repairs file system corruption and identifies bad sectors on your device. If these are the root cause behind your issue, this tool will be able to resolve it.
Warning: Do not run this if you suspect that your drive may be physically failing, e.g. you hear clicking or grinding noises coming from your PC.
- Follow the steps from Fix 2 to boot into Windows Recovery Environment (WinRE)
- Select: Troubleshoot → Advanced Options → Command Prompt
- Run the following command (replacing “C” with your operating system drive’s letter, if appropriate):
- chkdsk C: /f /r
If none of these fixes work, or you suspect hardware failure, it’s best to stop and consider professional help to prevent further data loss.
When to Stop and Contact a Professional
If the issue persists after basic troubleshooting, it may be time to stop and consider professional help. Continuing to run fixes on a failing system can sometimes make data loss worse.
You should stop troubleshooting immediately if:
- Your drive is not detected in BIOS/UEFI
- You hear clicking, grinding, or buzzing noises
- The system repeatedly fails to boot after multiple attempts
- Repair tools fail, freeze, or don’t complete
- The data on the drive is critical or irreplaceable
Often, these signs point to deeper hardware or structural issues that aren’t easy to resolve with standard fixes.
Professional SSD and hard drive recovery services use specialized diagnostics to identify the exact problem and work in controlled environments, such as certified cleanrooms, to safely handle damaged drives. They also create sector-by-sector images of the drive before attempting recovery, minimizing the risk of further data loss.
At Secure Data Recovery, we offer free diagnostics, a No Data, No Recovery Fee guarantee, and 24/7 support, making it a risk-free option if you’re unsure how to proceed.
How to Prevent this Error in the Future
Boot errors happen unexpectedly, and it’s hard to prevent them from happening entirely. However, many are linked to avoidable issues like improper shutdowns or hardware stress. Here are a few simple habits that can significantly reduce your risk:
- Shut down your system properly instead of forcing power-offs
- Use a surge protector or UPS to protect against power loss
- Avoid forced shutdowns, especially during updates or file operations
- Keep your operating system updated to ensure stability and compatibility
- Monitor drive health using SMART tools or built-in diagnostics
- Avoid filling drives to full capacity, which can affect your drive’s reliability
- Back up important data regularly to be better prepared for unexpected failures
Most boot errors are the result of gradual wear or sudden interruptions, both of which can often be prevented with consistent system care.
Need Help? Here’s the Safest Next Step
The “A required device isn’t connected or can’t be accessed” error can be alarming, especially when it prevents your desktop or laptop from starting. But with the right approach, it’s often fixable. Many of the solutions we’ve covered are safe to try, as long as you proceed carefully and avoid rushing into more aggressive fixes.
If the problem persists, or you can’t afford to risk your data, data recovery services are your best bet.
Secure Data Recovery offers:
- Free diagnostics
- A No Data, No Recovery Fee guarantee
- 24/7 support
To get started, call us at 800-705-3701 to speak with a specialist, or request help today!